
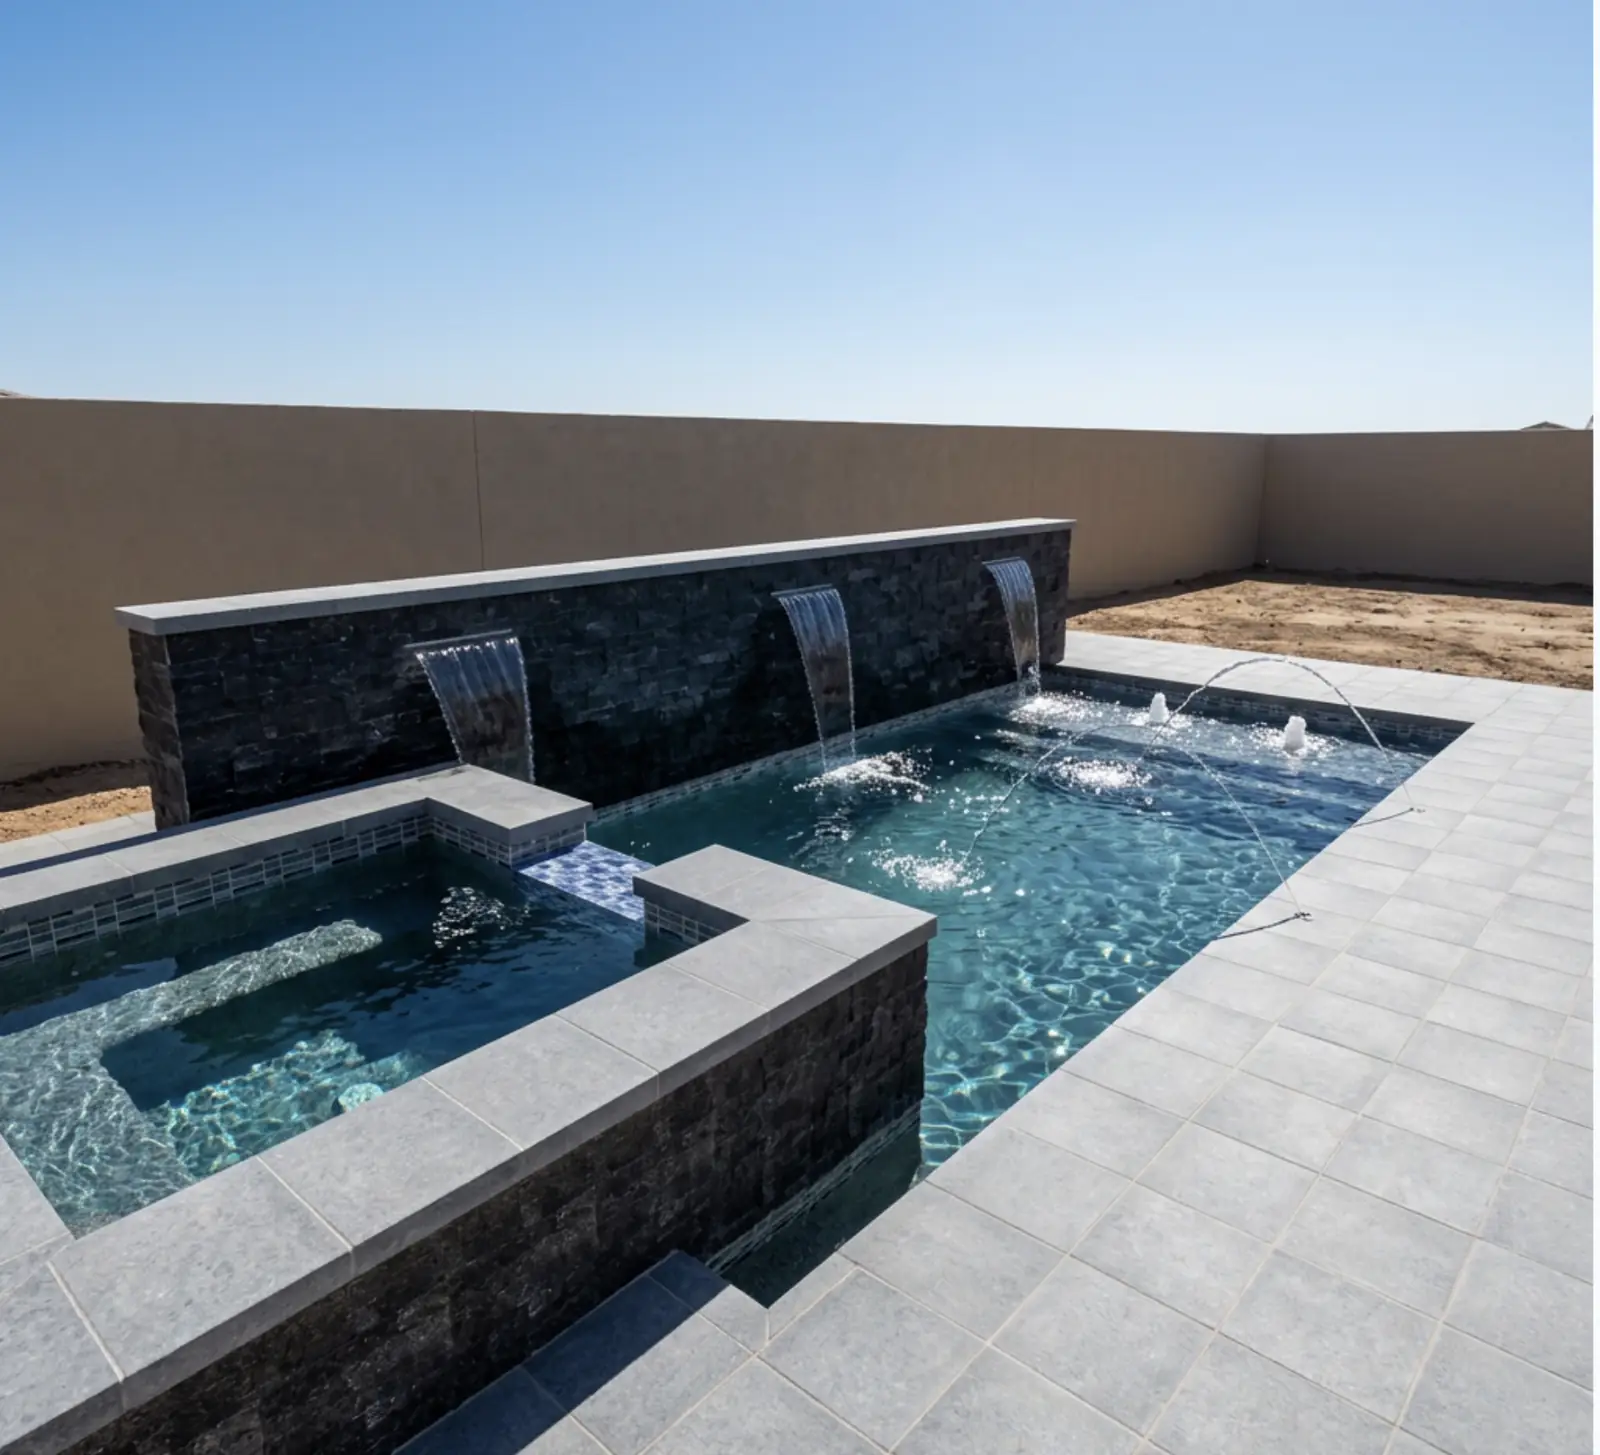
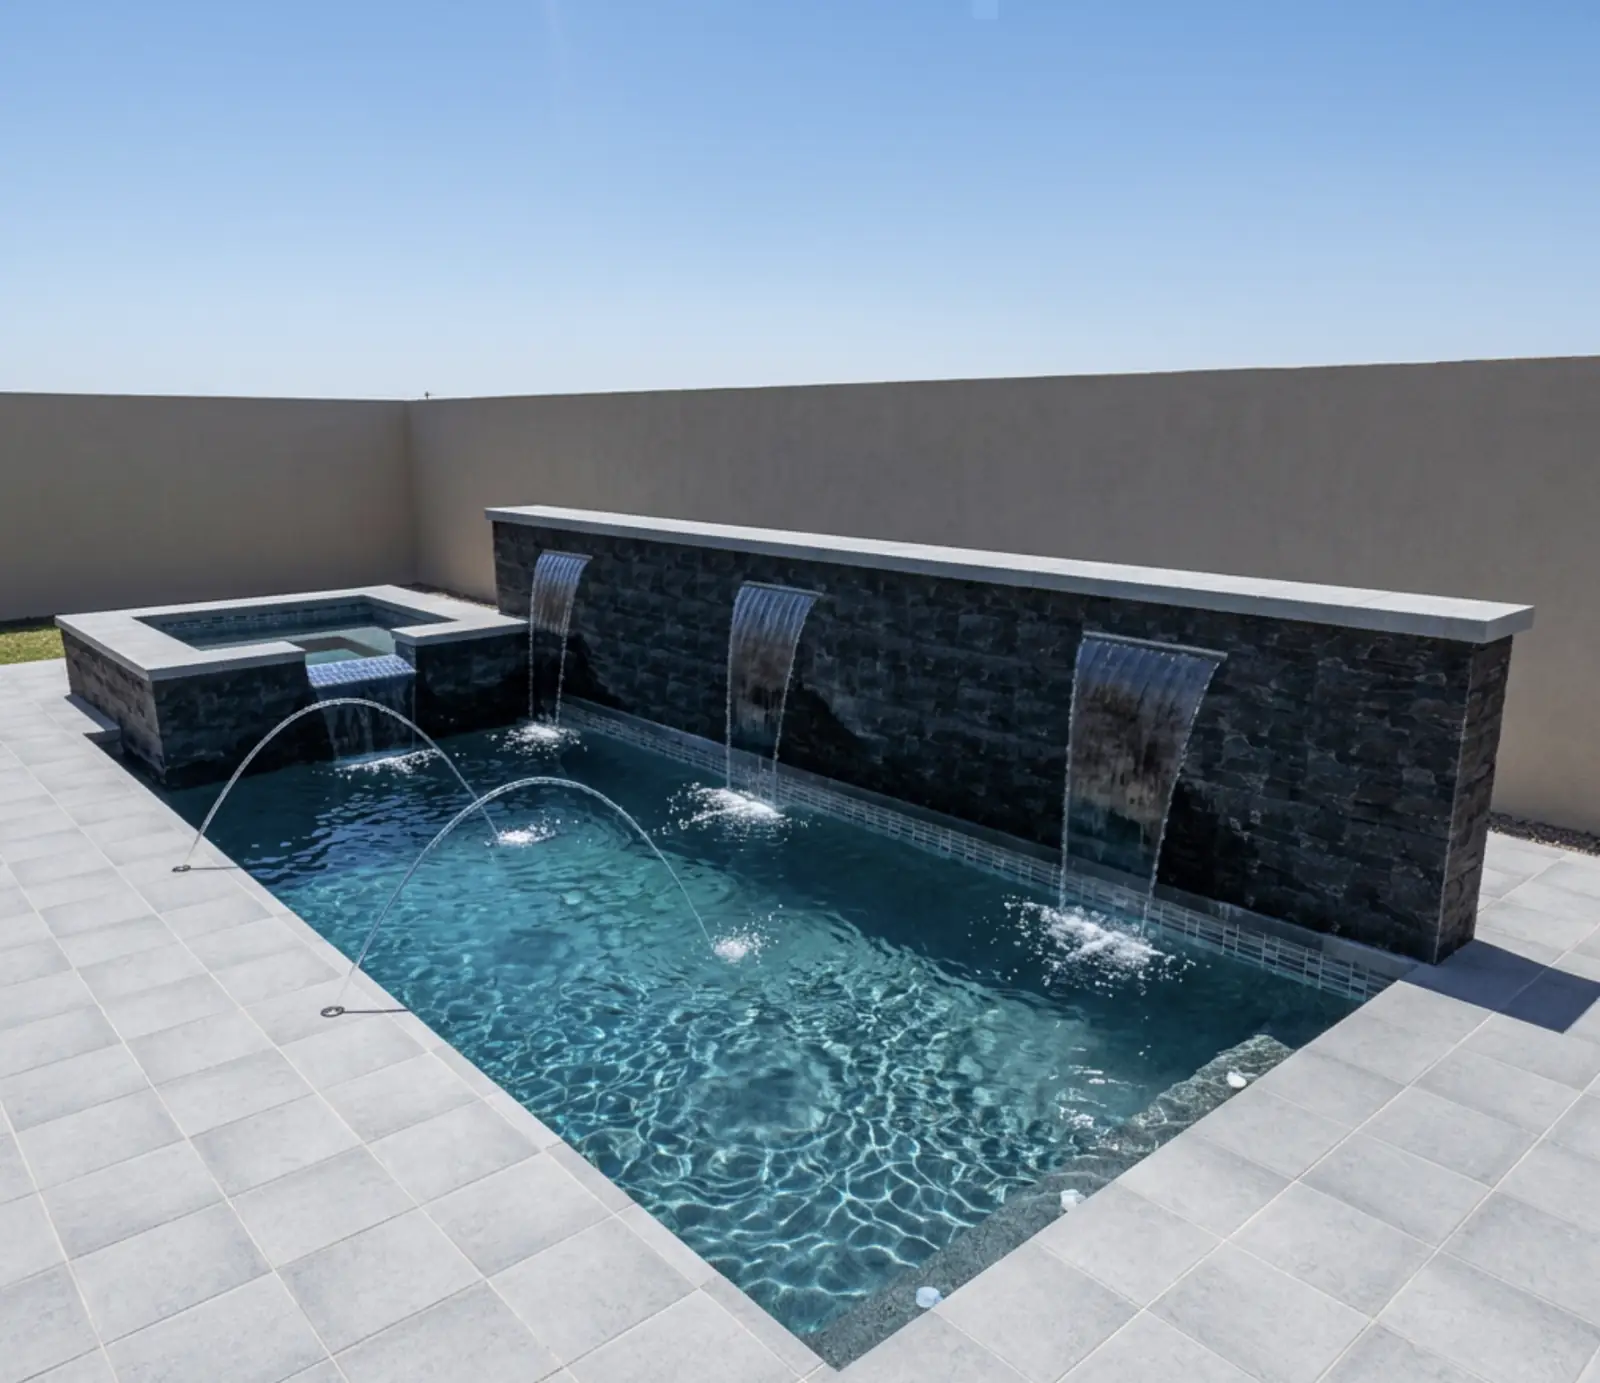

It is the question almost every homeowner asks early: how long until we can swim? It is also a hard one to answer honestly in a sentence. A pool build is a chain of stages, and the total depends on your builder, your city, the season and the type of pool.
So this post does not give you a number. Instead, it walks through each stage, explains what happens and what can hold it up, and gives you questions to ask so you get a real schedule from the person who will build your pool. Builders will find a section at the end on how to set expectations before a homeowner ever signs.
Why there is no single answer
Ask three builders how long a pool takes and you may hear three different answers, and all can be honest. Several things change the picture.
- The builder. Crew size, how many jobs run at once and how trades are scheduled all matter.
- Your city or county. Permit review and inspection processes differ a great deal from one place to the next.
- The season. Busy periods stretch calendars, and weather can pause work.
- The pool. Size, shape, features, finish and construction method all change the number of steps.
- Your yard. Access, slope, soil, utilities and any retaining walls affect the work.
- Your own choices. Changes after design is signed can add time.
If you are comparing construction methods, fiberglass vs gunite vs vinyl pools explains how each one changes the sequence on site. The stages below describe a typical concrete pool, since it has the most steps, and note where other types differ.
Stage 1: Design and agreement
Everything starts with deciding what to build. That includes the shape, size, depth, features, materials, deck and equipment. The builder visits the property, takes measurements and notes conditions such as slope, access and utility lines. A design and a price are agreed, and a contract is signed.
This stage can feel quick or slow depending on how decisive the homeowner is. Changing the shape or adding a spa later in the process is possible, but it can affect plans that have already been submitted. Settling the big choices early is the single easiest way to protect the schedule.
Seeing options on your own lot can speed this up. A tool like the AI pool designer lets a homeowner try shapes and features and see an estimate before the first meeting. For what a good estimate should list, see what a pool estimate includes.
Stage 2: Plans, permits and HOA approval
Before digging, the project needs approval. That usually means construction plans, a permit application to the city or county, and, if you live in an HOA community, a design submission to the association.
- Plans: drawings that show the pool, its position on the lot, setbacks, barriers and sometimes engineering. See pool construction plans for what they typically cover.
- Permits: the local building department reviews the plans. Review times and the number of rounds of comments vary.
- HOA approval: some associations meet on a set schedule, and some request changes.
This is one of the least predictable stages because it depends on offices outside the builder's control. A homeowner can help by responding quickly to any request for signatures or documents, and by asking the builder who submits what and what happens if a reviewer asks for changes.
Stage 3: Layout and excavation
Once approvals are in, the crew marks the pool outline and begins digging. Heavy equipment moves in, soil is removed and the shape and depth are cut. Utility locates are typically done beforehand.
What can slow this stage: hard or rocky soil, high groundwater, tight access that limits equipment, rain, and surprises like buried debris or lines. It is also the stage where a lot of conditions become visible for the first time, which is why estimates are confirmed at the site visit and why assumptions on the estimate matter.
For a fiberglass pool, excavation is followed by base preparation and delivery of the shell, which depends on manufacturing and trucking. For vinyl, it leads into the wall system and floor.
Stage 4: Steel and plumbing
In a concrete pool, the crew ties a grid of reinforcing steel to form the skeleton of the shell. Plumbing lines for circulation, cleaning, lighting and features are run and connected. Electrical bonding is installed. Inspections often occur at this point, before concrete goes on.
Inspections are the main thing to understand here. Work may need to stop until an inspector signs off, and an inspector's availability is not in the builder's control. Ask your builder how inspections are scheduled and how they handle a failed one.
Stage 5: Shotcrete or gunite
Concrete is sprayed over the steel to form the shell. This is often a single, intense day or short stretch of work with a specialized crew, followed by a period when the concrete cures. The builder may keep the shell wet during curing as part of the process.
Spray crews are scheduled in advance, and weather can move the date. This stage is a good example of why a build is sequenced rather than continuous. After the shell cures, the next trades follow.
Stage 6: Tile and coping
Waterline tile and coping, the cap along the edge of the pool, go on after the shell is ready. The materials chosen affect how this goes. Custom or special-order tile can add lead time, so ask whether your selections are in stock or need to be ordered, and when they need to be chosen.
Small decisions pile up here: tile style, coping type, any raised bond beam or water feature faces. Late changes at this stage are a common cause of delay, and an easy one to prevent.
Stage 7: Decking and surrounding work
The deck, patio or other surfaces around the pool are built. Depending on the plan, this may include pavers, concrete, travertine, artificial turf, steps, walls, fencing or other barriers and landscaping. Some of this work is done by the pool builder, and some by separate contractors.
Ask who is responsible for each item and how they will coordinate. A pool that is dug but sits waiting for a separate deck or fence contractor is a common frustration. Required safety barriers also need to be in place and approved before the pool is filled and used, according to local rules.
Stage 8: Equipment and electrical
The equipment pad gets its pump, filter, heater if included, automation, lighting and controls. Electrical work is completed and inspected. Equipment that has to be ordered can add to the schedule, particularly when specific models are chosen.
This is a good time for the homeowner to confirm what was promised. If your estimate listed a heater, automation or a salt system, make sure it is on the schedule. An itemized estimate makes this check simple.
Stage 9: Plaster or interior finish
For a concrete pool, the interior finish, such as plaster, pebble or another aggregate, is applied. The finish crew often works in a short window, and the pool is filled right afterward to protect the new surface. Weather and crew scheduling are the usual variables.
For fiberglass, the surface is already part of the shell. For vinyl, this is when the liner is installed. In all cases, ask the builder what must be finished before water goes in.
Stage 10: Startup, fill and handoff
The pool is filled, equipment is started and the water is balanced. In many cases, there is an initial period of brushing and chemistry checks as the finish settles. The builder walks the homeowner through the equipment, maintenance and warranty, and final inspections are completed.
Fill time depends on your water source and local conditions. Ask whether your builder or a water delivery service handles the fill, and whether there are local rules or fees to be aware of. Do not assume the pool is ready to use the moment it is full. Ask what the builder needs to see before giving the go ahead.
What causes delays
- Permit and HOA reviews that take longer than expected or return comments.
- Inspection availability and failed inspections that require rework.
- Weather, especially rain, which can stop excavation, spraying and finishing.
- Soil or groundwater surprises found during excavation.
- Material lead times, including tile, coping, equipment and fiberglass shells.
- Change orders that alter plans after work has begun.
- Crew scheduling, because specialized trades work on many jobs at once.
- Access issues, such as narrow paths, utilities or neighboring property.
Most of these are normal. What matters is whether the builder tells you about them early and keeps you informed. A builder who explains the likely trouble spots at the start is usually better prepared than one who promises a clean run.
Questions to ask your builder about the schedule
Instead of asking "how long," ask questions that produce a plan you can hold people to.
- What are the stages of my project, in order?
- Which stages depend on offices outside your control, like permits and inspections?
- What do you do when a stage is delayed, and how will you tell me?
- When do I need to make final choices on tile, finish, equipment and deck?
- Which of my selections have lead times?
- Who coordinates the deck, fence and landscaping?
- How does weather affect the schedule, and what happens if it does?
- When will the pool be ready to swim in, and what has to happen first?
- How do change orders work, and what do they do to the schedule?
Get the answers in writing where you can. A builder who gives you a realistic written sequence is easier to trust than one who gives a confident number with no detail behind it.
Tip for homeowners: ask for the order of stages and the decisions needed from you, with dates. The calendar will move, but the sequence and your own deadlines will not.
How builders can set expectations early
For builders, the schedule conversation is part of the sale. Homeowners who feel surprised by timing rarely blame the weather or the city. They blame the builder. A few habits make a difference.
- Show the stages on your website. A simple page that explains how a project moves, in order, tells a homeowner you have a process.
- Say what you control and what you do not. Permits, inspections, HOA reviews and weather sit outside your hands, and saying so up front is honest, not defensive.
- Do not guess. If you give a range, base it on your own recent projects and say it varies by city, season and pool type. If you cannot, share the sequence instead.
- Tie the schedule to decisions. Tell homeowners which choices have to be final by which stage.
- Communicate between stages. A short update when a stage begins or ends prevents most complaints.
- Put it in the estimate follow up. The email or call after an online estimate is a good moment to explain what happens next.
It also helps to start the conversation well. When a homeowner arrives at your first visit with a design and an itemized estimate, you can spend the time on the project and its schedule instead of basic questions. If you want ideas for that first conversation, see how to follow up on a pool lead and how to qualify pool leads before the site visit.
How design and estimates affect the timeline
A good deal of schedule trouble starts before the first shovel. Vague scope leads to change orders, and change orders lead to delays. The clearer the design and estimate are at the start, the fewer arguments occur later.
That is one reason QuickPoolQuote shows an itemized estimate built from the builder's own pricing, confirmed at the site visit. Homeowners see what is included, and the builder has a defined starting point. A lead is a homeowner who completes a design and submits contact info, so the builder begins with a real design, not a blank page. Learn more on the how it works page.
Plans start at $495 per month, or $4,752 per year with annual billing at 20% off, and include 100 leads per month. Extra leads come in packs of 50 for $199. There is no setup fee, and the tool is live in about 24 hours. Details are on the pricing page.
A simple planning worksheet
Whether you are a homeowner or a builder, write the stages down and fill in what you know. Leave the rest blank until someone can answer it.
- Design and contract: who needs to decide what, and by when?
- Permits and HOA: what is submitted, by whom, and what is the review process?
- Excavation: any access or soil concerns?
- Steel and plumbing: when is the inspection?
- Shell: spray date or shell delivery date?
- Tile and coping: selections made and ordered?
- Deck and barrier: which contractor, and when?
- Equipment: ordered and confirmed?
- Finish: scheduled, with fill arranged?
- Startup: who does it, and what is the handoff?
Review it at each stage change. An hour spent on this worksheet at the start often saves weeks of confusion later.
Common questions
Can a pool be built faster?
Sometimes, but speed often depends on things like approvals, inspections and material availability, which are not fully in a builder's control. Be careful with promises of a very fast build, and ask what the schedule depends on.
When is the best time of year to start?
It depends on your area. Some regions have busy seasons when builders are booked and approvals move slowly, while others offer an advantage to starting in quieter months. Ask your builder how the season affects their schedule where you live.
Does the type of pool change the stages?
Yes. Concrete pools have the most on site steps. Fiberglass shifts some work to a factory and adds a delivery and set day. Vinyl has its own wall and liner steps. See fiberglass vs gunite vs vinyl pools for the differences.
What is the biggest cause of delays?
Builders often point to approvals, inspections, weather and late decisions. Because every project is different, ask your builder which of these are most likely in your case.
Where can I get an estimate to start planning?
If your builder offers a design tool on their site, start there. If you are a builder who wants one, visit get started, call 480-602-1192, or see the help center. For what shapes the price, read pool cost factors.
See it on your own website
Pool design software, with a price from your pricing, live in 24 hours.
More from the blog
Put design software on your website this week.
Homeowners who design their pool and see a price call you ready to build. Tiers start at $495 a month with no setup fee. See pricing